Mastering the Art of Crochet: Crafting Granny Squares with a Twist
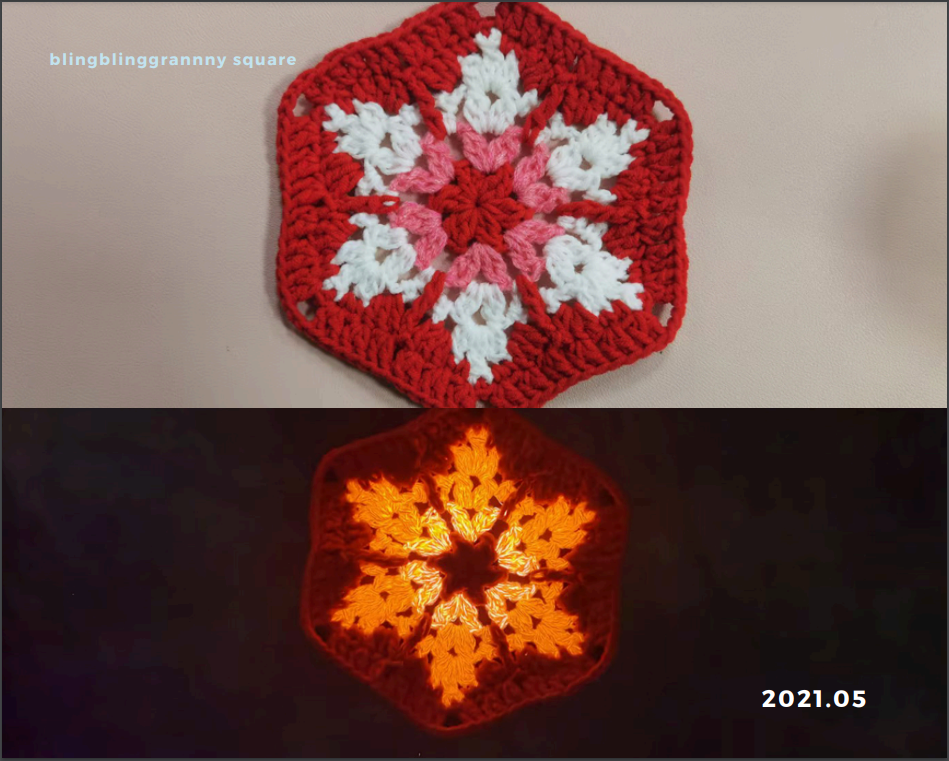
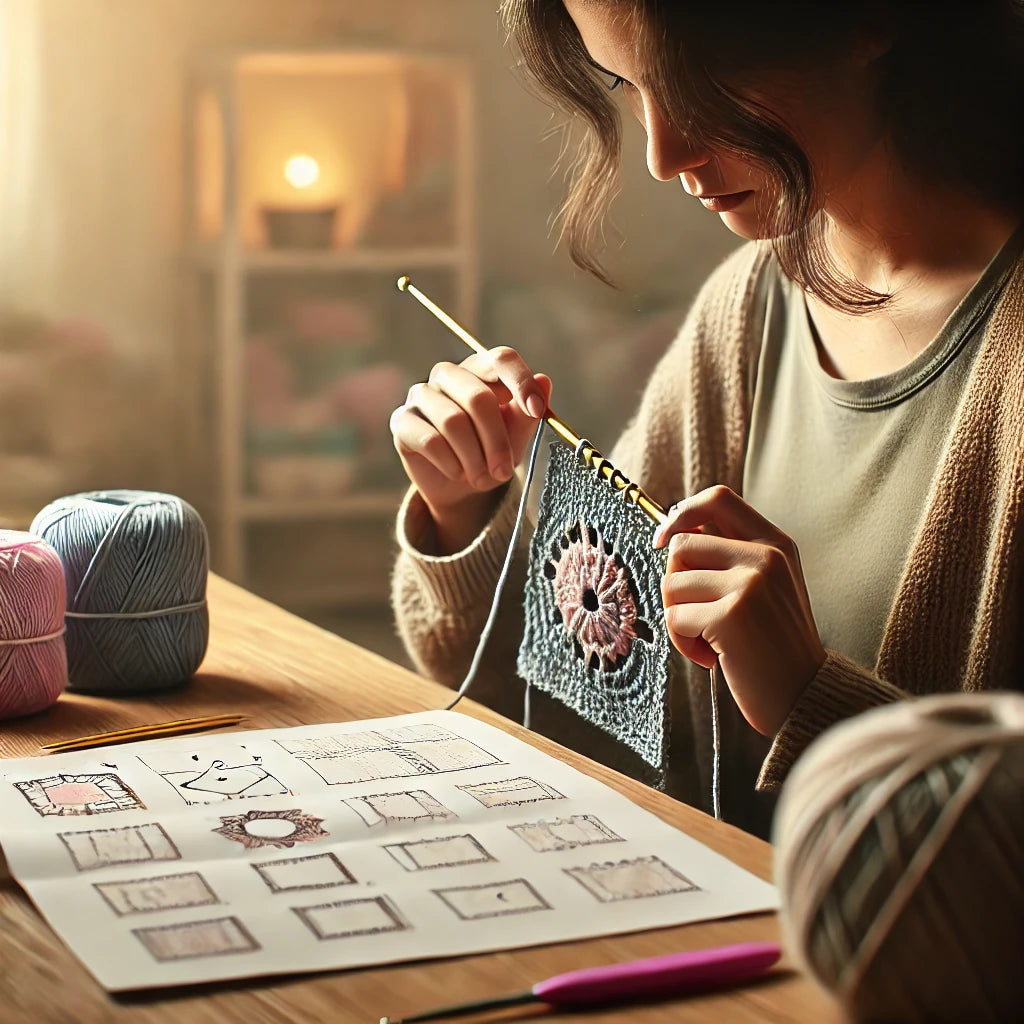
Welcome, fellow crochet enthusiasts! Today, we're embarking on a journey to create something truly magical: Granny Squares with a mesmerizing counter clock wise design. These squares are not just a testament to your crochet skills but also a perfect project for experimenting with color changes and intricate patterns. So, let's dive into the world of blingblingyarn and hooks, and create something that will be the centerpiece of any home decor.

Materials:
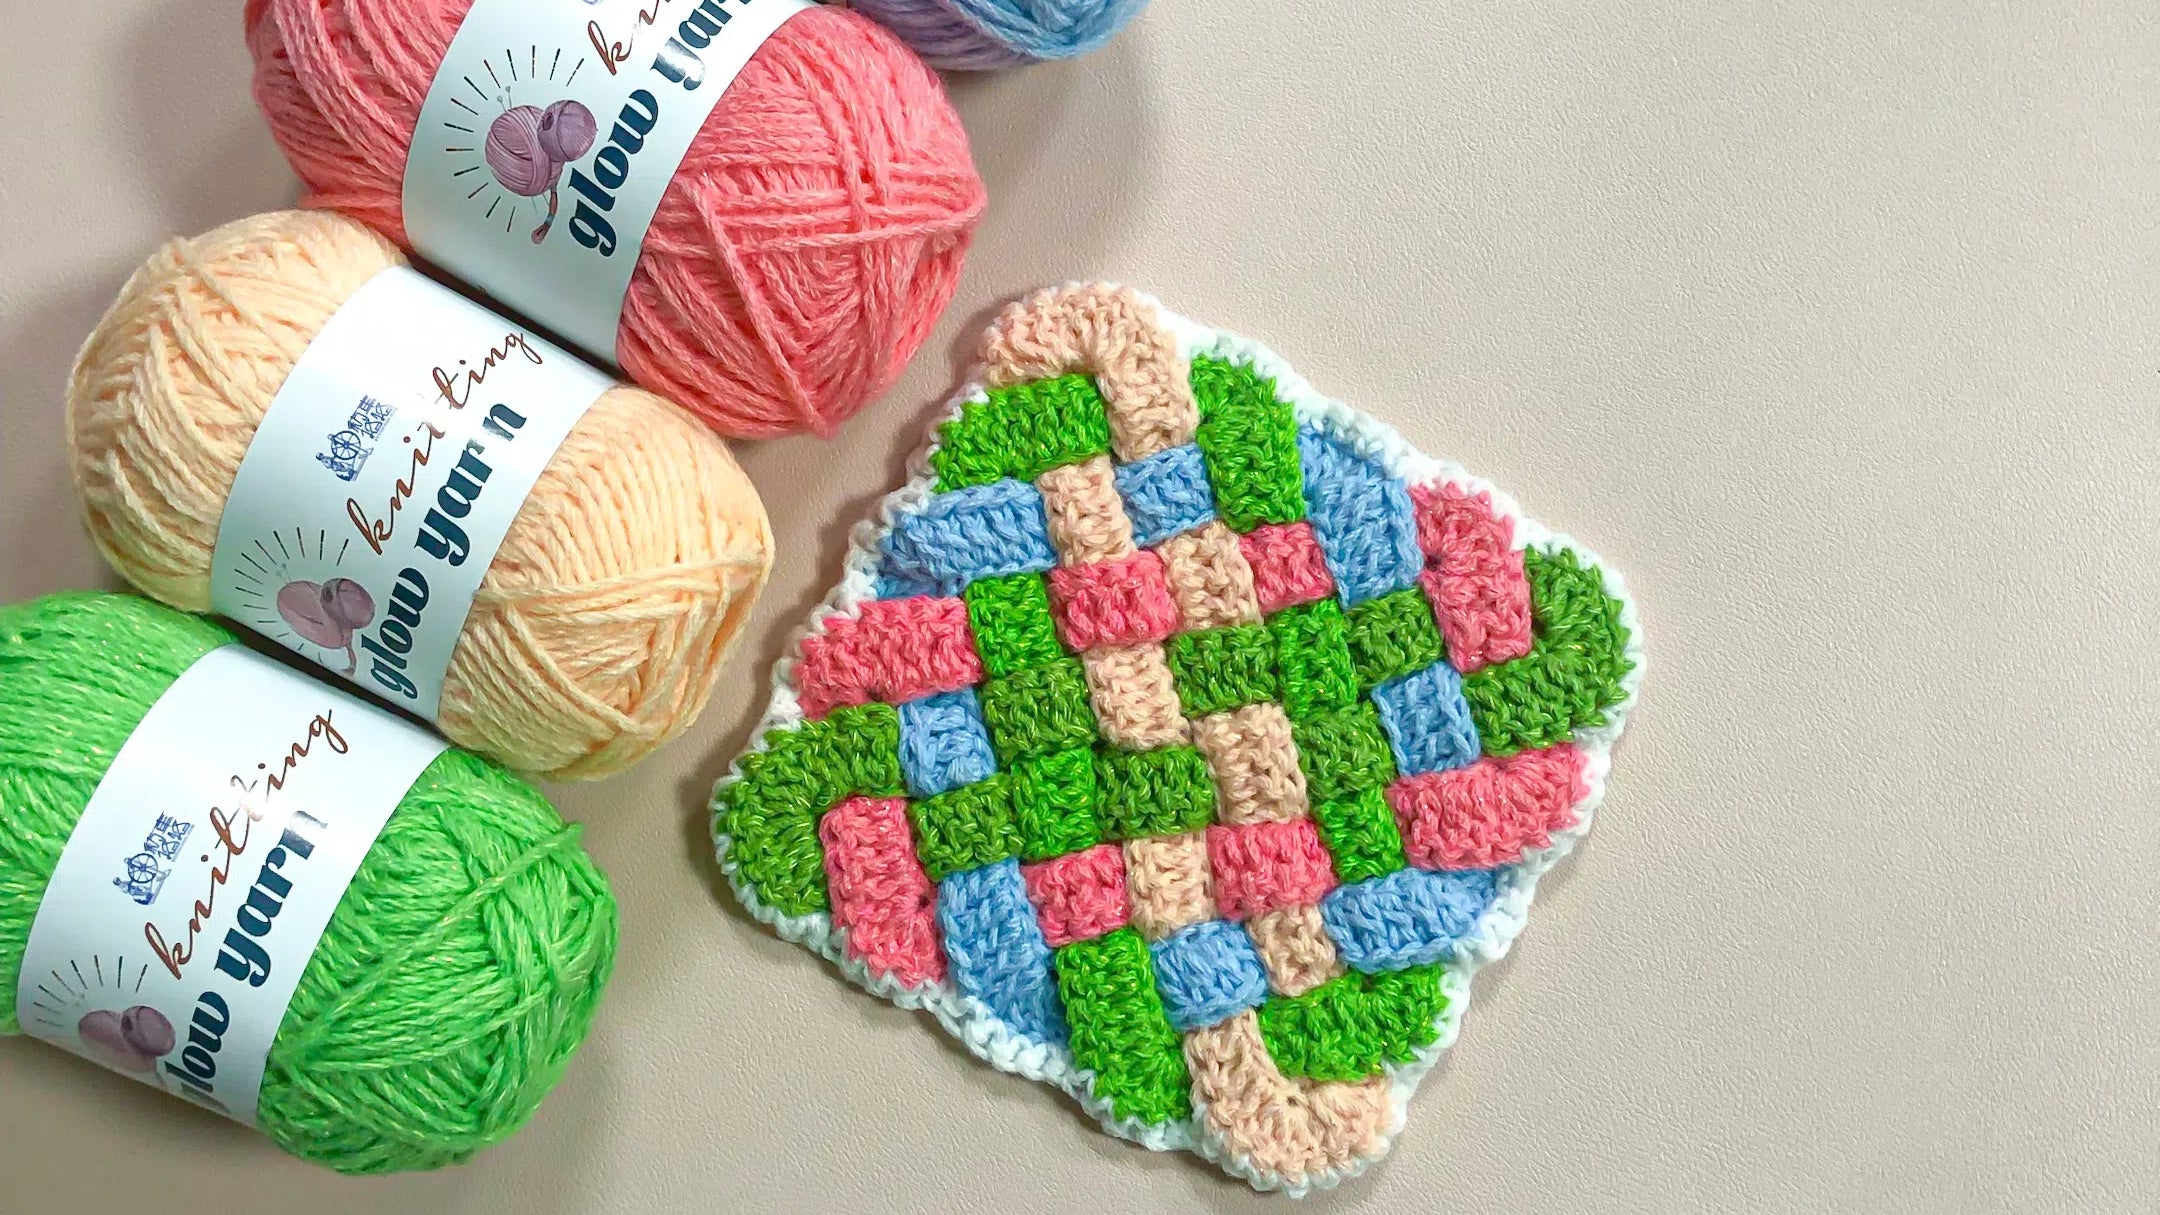
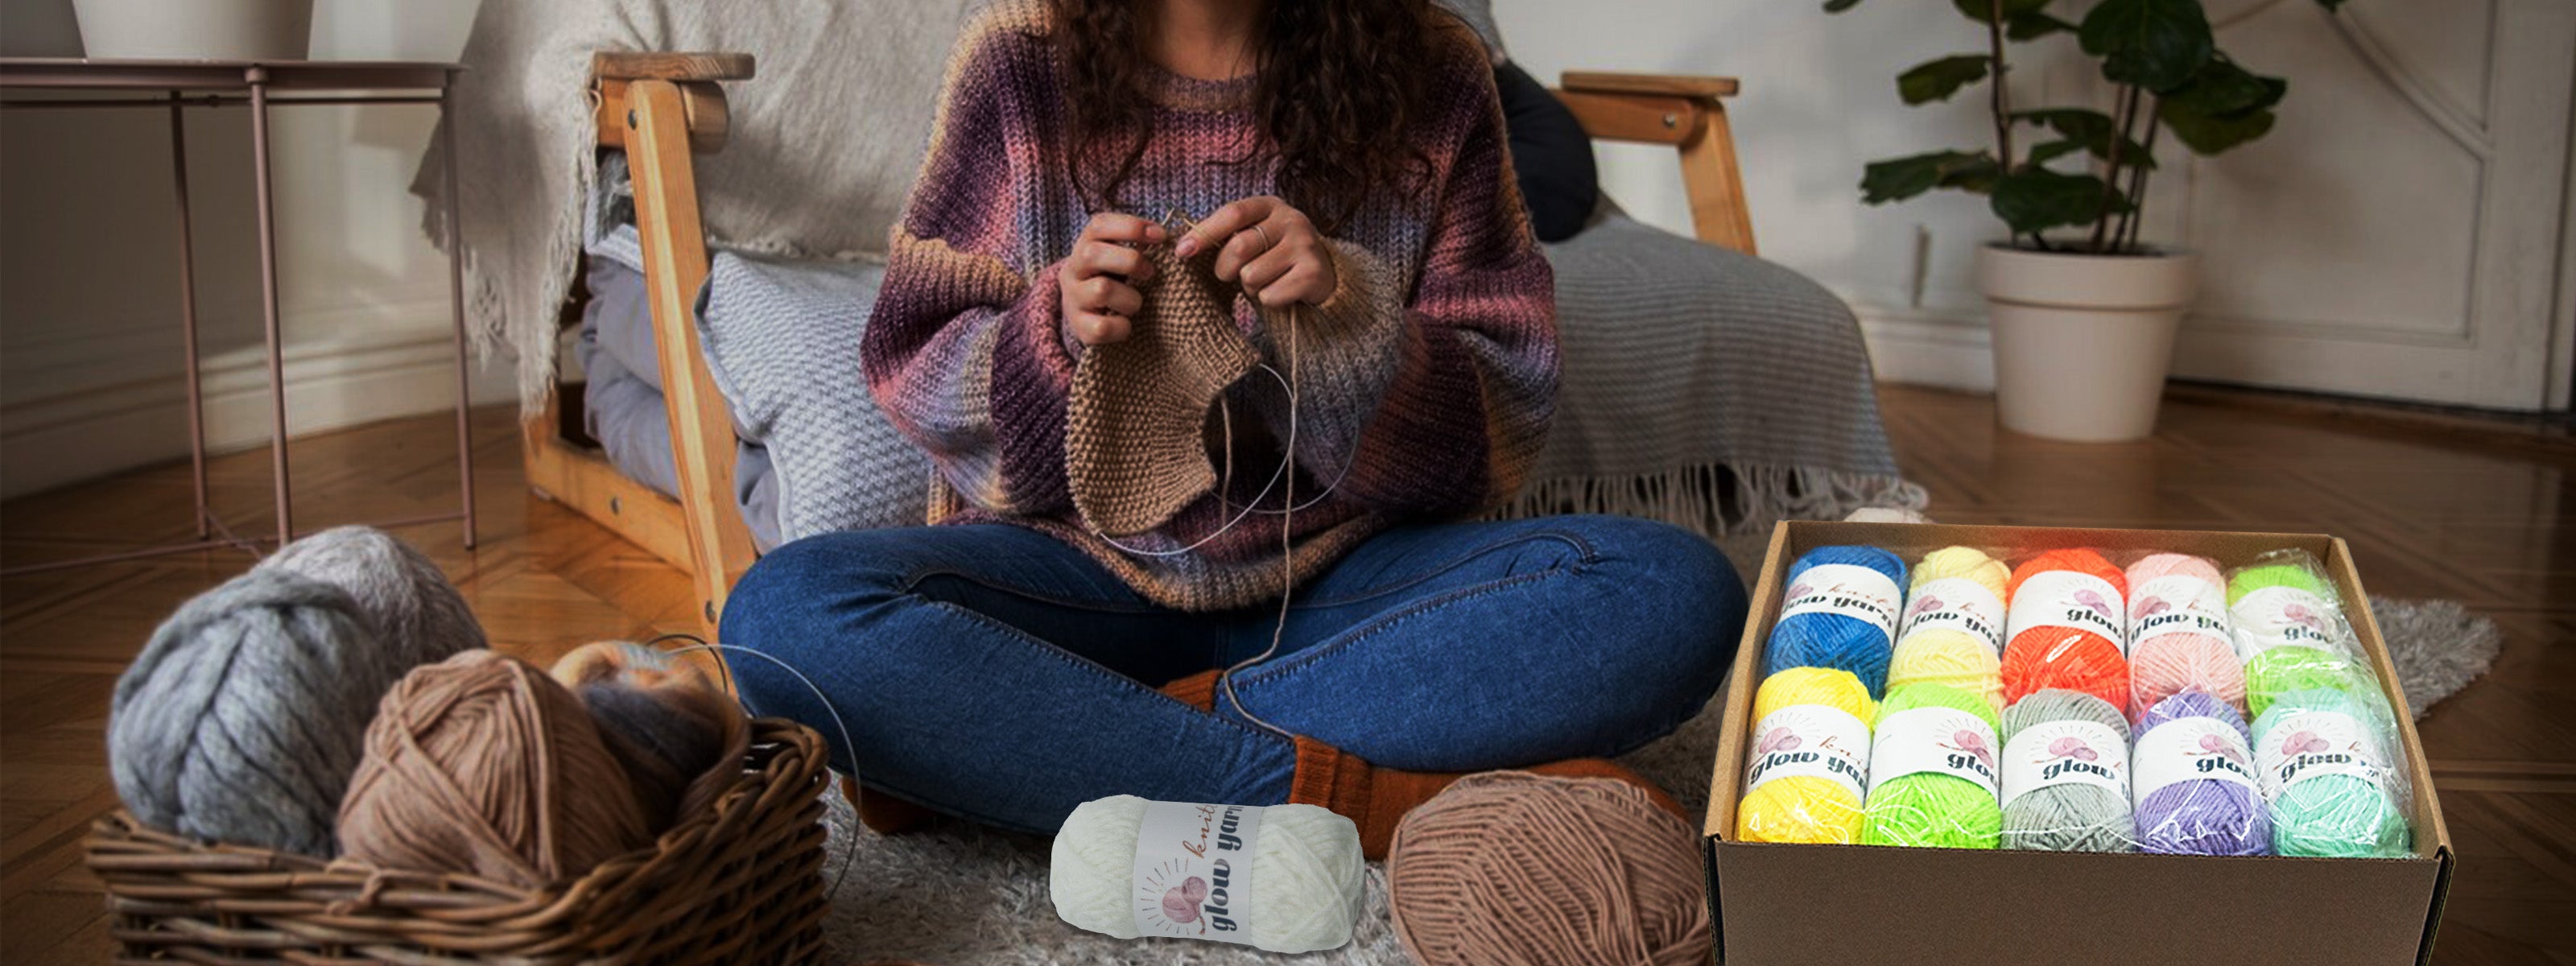
- blingblingYarn in multiple colors for a vibrant and eye-catching finish, with the added allure of a luminescent glow that will make your Granny Squares stand out in the dark
- Crochet hook suitable for the yarn you've selected (usually indicated on the yarn label)
- A pair of scissors for cutting yarn
- A yarn needle for weaving in ends
- A stitch marker (optional, but highly recommended)
Tutorial:
Step 1: Starting the Granny Square Begin by making a slip knot and creating a magic ring with your blingblingYarn. Work 7 foundation chain stitches (ch) into the ring, and join with a slip stitch (sl st) to the first chain to form a circle.

Step 2: Establishing the Pattern In the same stitch, chain 3 (this counts as the first double crochet), and work 2 more double crochets (dc) into the ring. Chain 2, and in the same stitch work 3 more double crochets. Repeat from * around, ending with a chain 2 and a slip stitch to join to the top of the initial chain-3.
Step 3: Introducing Color Changes: change colors in every round using BlingBlingYarn for a stunning visual effect. To do this, fasten off the current color and join the new color with a standing double crochet. Always ensure to carry the new yarn up the side of the work to avoid any unsightly yarn tails on the front.
Step 4: Expanding the Square Continue to work in rounds, increasing the number of double crochets in each corner. Remember to maintain the counterclockwise direction for a unique and cohesive look. Use stitch markers to keep track of your rounds, especially when changing colors with blingblingYarn.
Step 5: Finishing Touches Once you've reached the desired size, fasten off and weave in all ends with a yarn needle. Your granny square is now ready to be joined with others or used as a standalone piece, glowing with the enchanting quality of blingblingYarn.
Tips for Success: Keep your tension consistent throughout the project to ensure even stitches and a professional finish. Don't be afraid to experiment with different color combinations and patterns. The beauty of crochet lies in its versatility, and blingblingYarn offers endless possibilities. Take your time, especially when changing colors. A smooth transition will make your granny squares stand out, especially with the unique glow of blingblingYarn.
Crocheting granny squares is not just about creating a functional piece; it's about expressing your creativity and making a statement. With each stitch, you're crafting a piece of art that can be cherished for years to come. Happy crocheting, and may your hooks always be swift, your yarn never tangle, and your blingblingYarn always shine bright!


Leave a comment
This site is protected by hCaptcha and the hCaptcha Privacy Policy and Terms of Service apply.