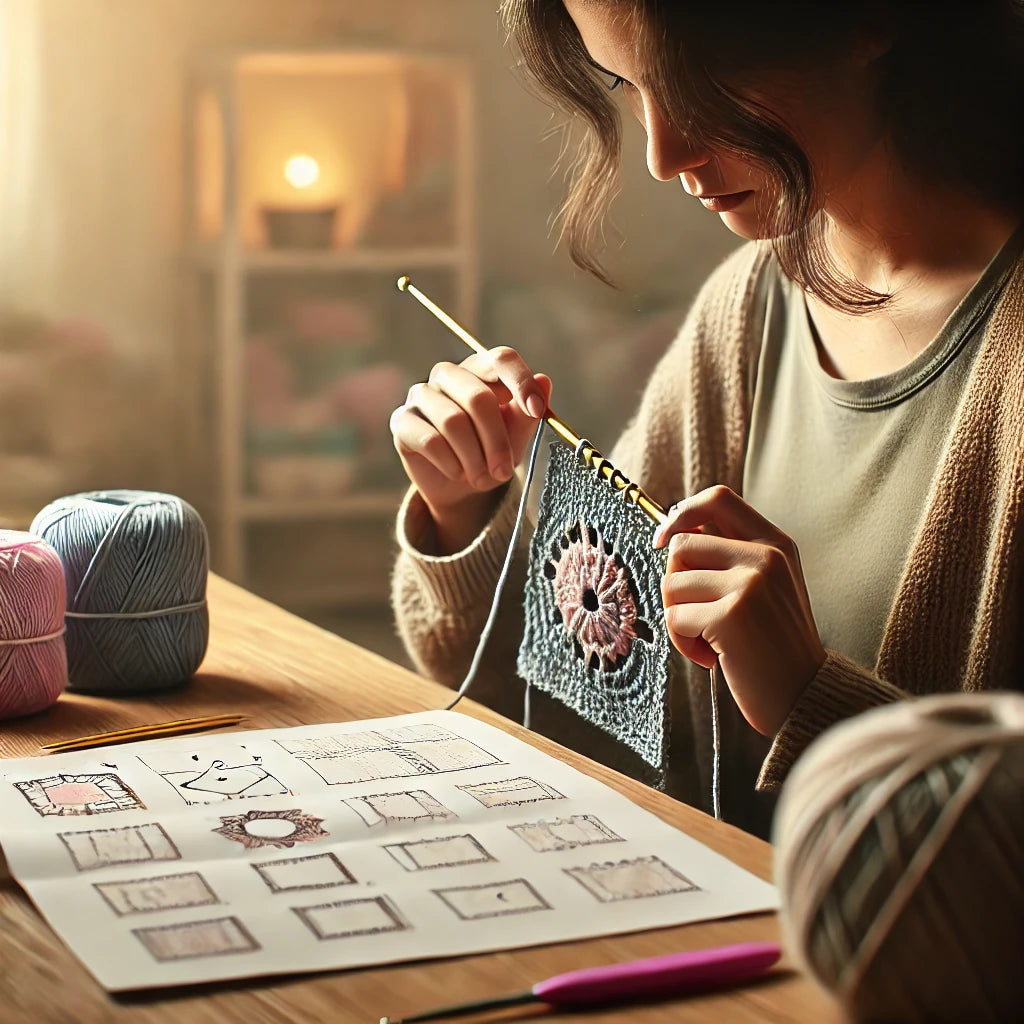
How to Read Crochet Diagrams: A Guide for Beginners
Crochet diagrams, also known as charts, are a visual representation of crochet patterns. For beginners, these diagrams might seem like a mysterious code, but once you understand the symbols and how they work together, a whole new world of creativity opens up. In this guide, we'll break down the basics of reading crochet diagrams, helping you to confidently tackle any charted pattern.
1. Understanding the Basics of Crochet Diagrams
Before diving into the symbols, it's important to understand the structure of crochet diagrams. Unlike written patterns, which describe each step in text, diagrams use symbols to represent stitches. These symbols are placed on a grid to show the order and direction of your work.
Key Points to Remember:
- Diagrams read in rounds: If the pattern is worked in the round, you'll typically start in the center and work your way outward in a spiral. Each round is often numbered on the diagram.
- Diagrams read in rows: For patterns worked in rows, the chart usually reads from bottom to top, with the starting row at the bottom. Right-side rows are read from right to left, and wrong-side rows from left to right.
2. Common Symbols in Crochet Diagrams
Every crochet diagram uses a set of standardized symbols, which represent different stitches. While there may be slight variations depending on the source, most diagrams follow the same conventions.
Here are some of the most common symbols:
- Chain (ch): Represented by an oval or a small circle. It's the most basic stitch and is often the foundation of many patterns.
- Slip Stitch (sl st): Shown as a small dot. It's used to join stitches or move the yarn without adding height.
- Single Crochet (sc): Depicted as a cross or a small "x."
- Half Double Crochet (hdc): Illustrated as a "T" with one horizontal line through the middle.
- Double Crochet (dc): Shown as a "T" with two horizontal lines through it.
- Treble Crochet (tr): Represented as a "T" with three horizontal lines.
It's helpful to familiarize yourself with these symbols and keep a reference chart handy as you practice.
3. How to Follow a Crochet Diagram
Now that you know the basics, let's walk through how to follow a crochet diagram step by step:
Step 1: Identify the Starting Point
- Look for a small arrow or a number indicating where the diagram begins. This is usually at the center for rounds or at the bottom right for rows.
Step 2: Understand the Direction of Work
- If you're working in the round, follow the symbols in a circular path. If working in rows, move back and forth in the appropriate direction as you would when reading a text pattern.
Step 3: Recognize the Repeats
- Many diagrams will have sections that repeat. These are often highlighted with brackets or a different color. Make sure to follow the repeat instructions carefully, as they are crucial to achieving the correct pattern.
Step 4: Match the Stitches
- As you work through the diagram, match each symbol with its corresponding stitch. Take your time, and don’t hesitate to reference your symbol chart.
Step 5: Count Your Stitches
- Just like with written patterns, counting your stitches is vital to ensure accuracy. Double-check your work after each row or round to make sure you're on track.
4. Tips for Success
Reading crochet diagrams might feel challenging at first, but with practice, it becomes second nature. Here are a few tips to help you along the way:
- Practice with Simple Patterns: Start with basic diagrams, such as those for granny squares or simple motifs. These will give you a good foundation before moving on to more complex patterns.
- Use a Highlighter: Highlighting the row or round you’re working on can help you keep track of where you are in the pattern.
- Don’t Rush: Take your time as you learn to read diagrams. It’s okay to go slow, and remember that making mistakes is part of the learning process.
5. Why Learn to Read Crochet Diagrams?
Understanding crochet diagrams is a valuable skill that opens up a world of patterns, especially those that are charted but not written out. Many international patterns rely on diagrams, so being able to read them can broaden your project possibilities. Moreover, diagrams often provide a clearer visual of complex patterns, making them easier to understand than written instructions alone.
In conclusion, reading crochet diagrams is an essential skill for any crocheter. By familiarizing yourself with the common symbols, understanding the structure of diagrams, and practicing regularly, you’ll soon be able to tackle even the most intricate patterns with confidence. Happy crocheting!


Leave a comment
This site is protected by hCaptcha and the hCaptcha Privacy Policy and Terms of Service apply.