Handmade Winter Warmth: Cute Stuffed Animal Tutorial!
Hey there, DIY enthusiasts! Today, I'm super excited to share the joy of tufting handmade with you. There's something incredibly satisfying about creating your own cozy companions, especially during the chilly winter days. In this tutorial, we'll be making adorable stuffed animals that are not only cute but also incredibly warm. So, let's dive in and get those creative juices flowing!

Preparing Materials
Before we jump into the tufting process, let's gather our materials. You'll need some yarn in the colors of your choice – feel free to mix and match for a personalized touch. Additionally, grab two different sizes of bottle caps and coins; these will be used to draw stencils. Don't forget your trusty scissors, a hot melt gun, a piece of cardboard, pens, and some non-woven fabrics to give your stuffed animals that extra touch of charm.
Steps of Making
Now that we've got our materials ready, it's time to roll up our sleeves and start crafting these winter cuties.
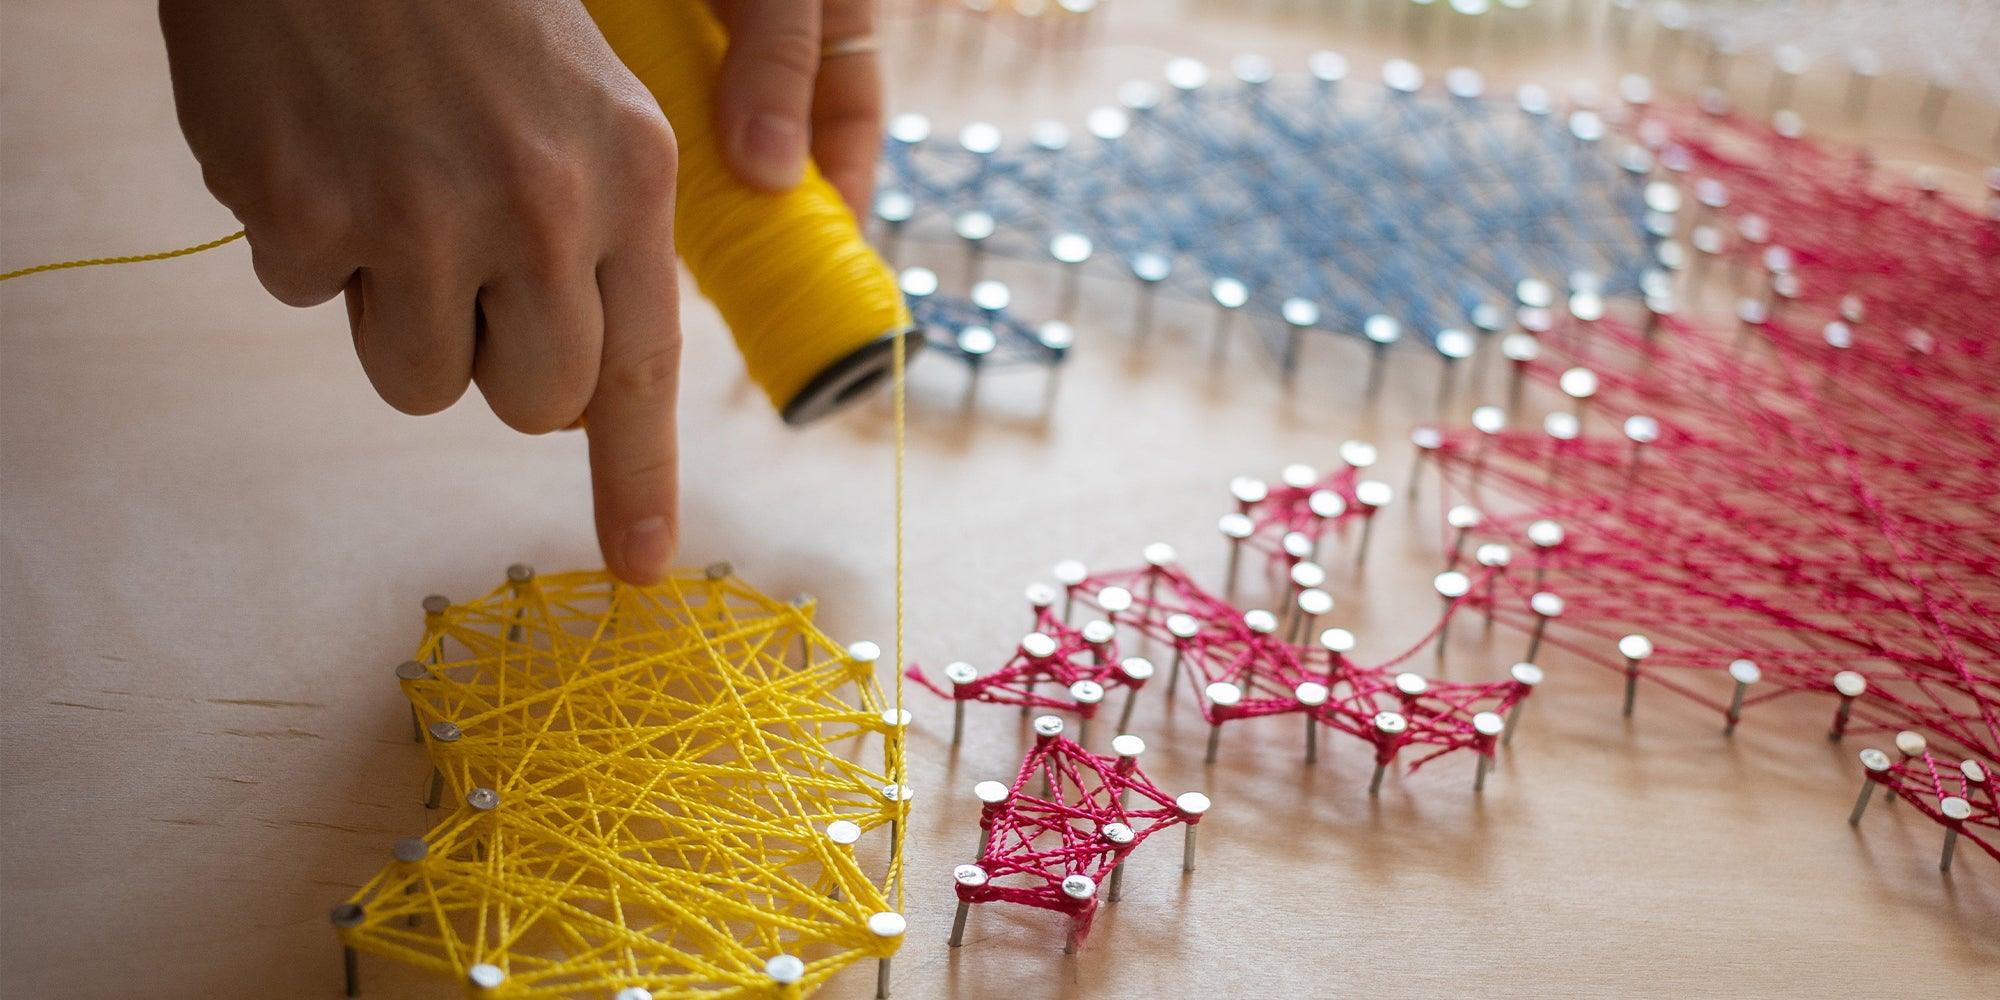
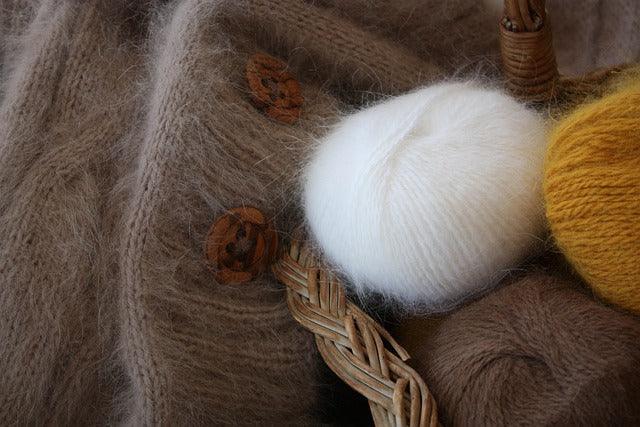
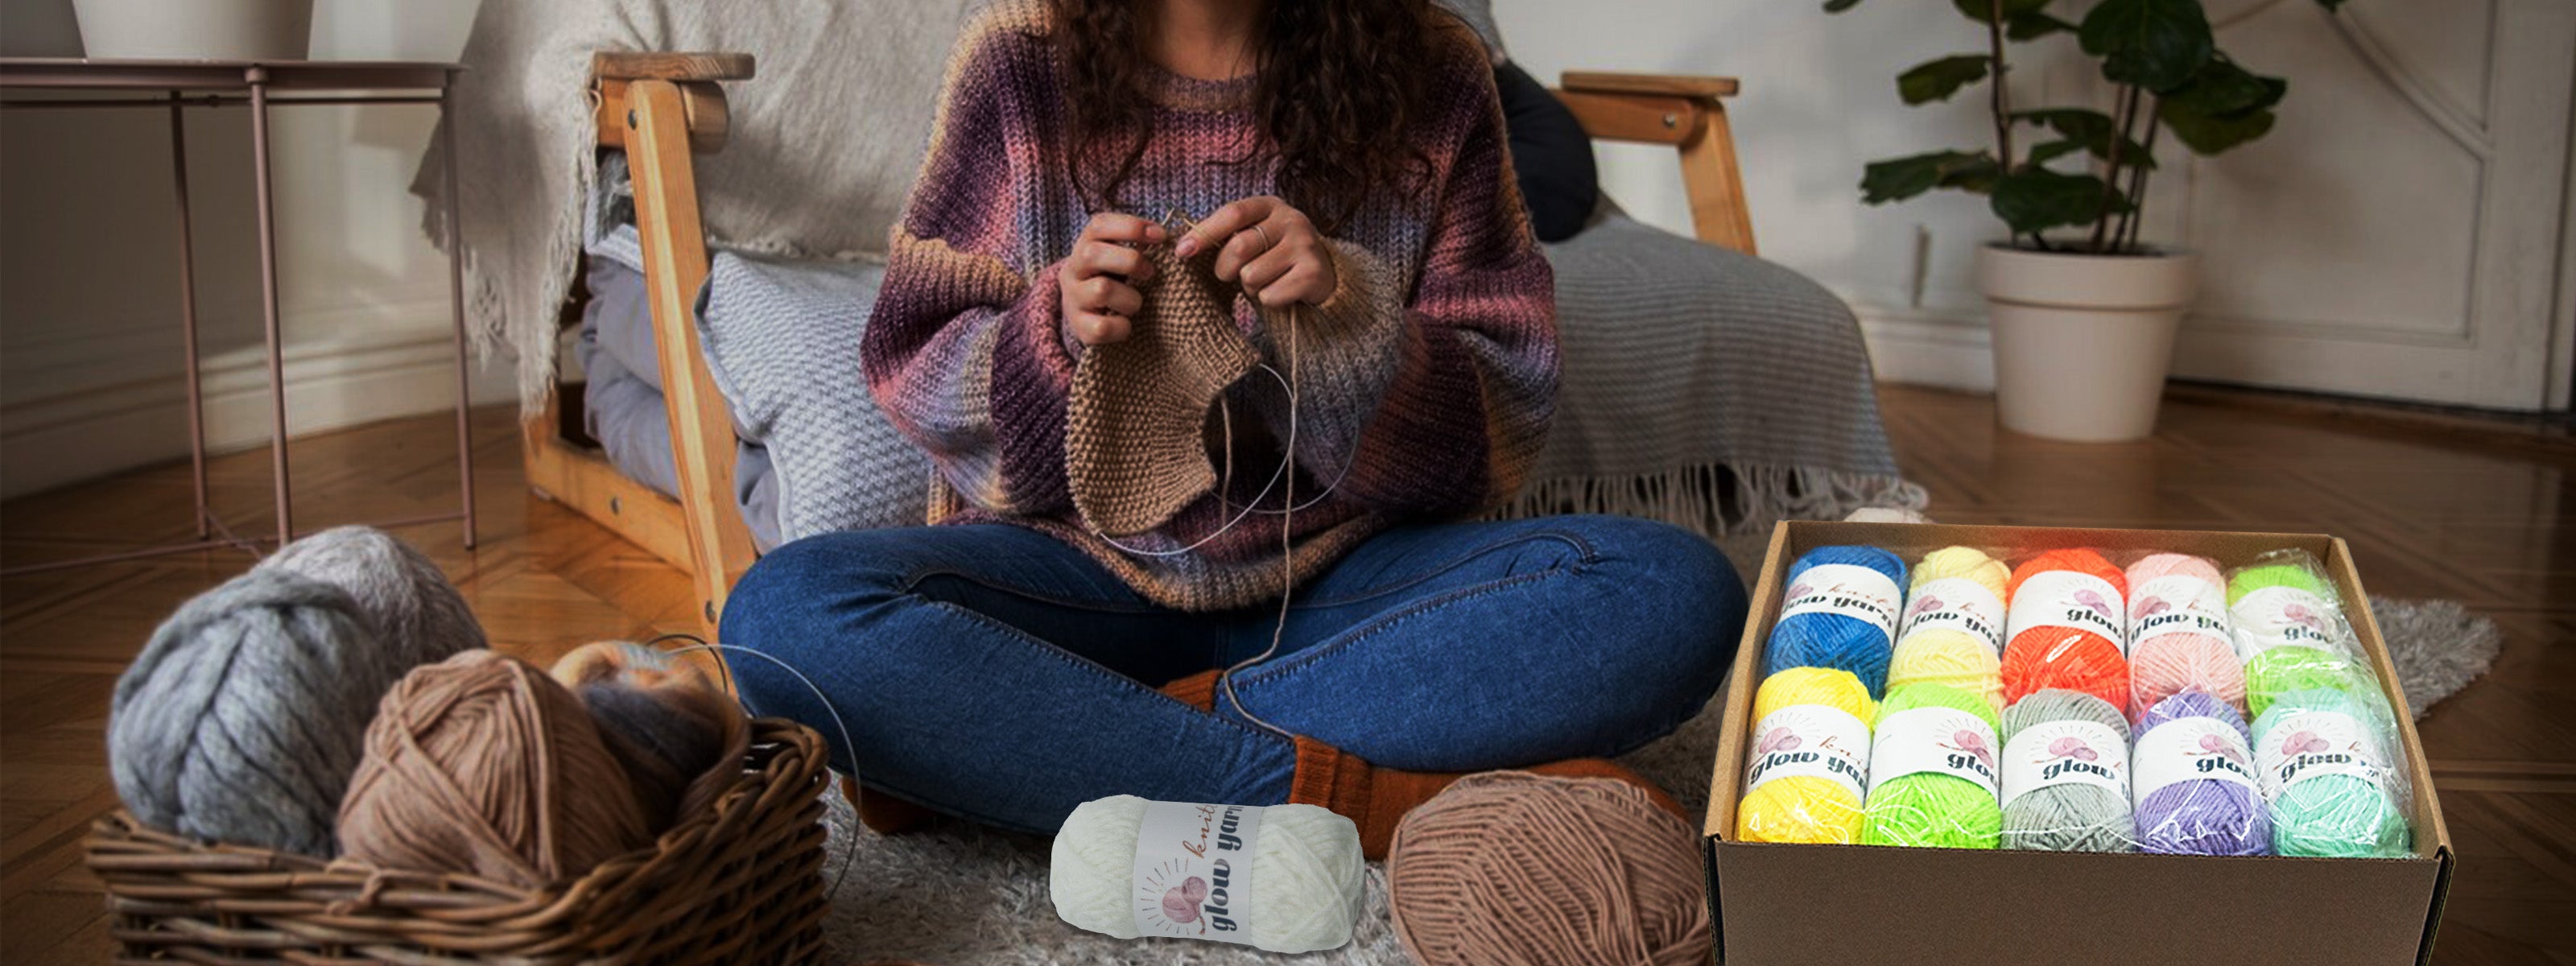
Choose Your yarn: Begin by selecting the colors of yarn you want to use. Mix and match to create unique patterns or stick to a single color for a classic look.
Create Stencils: Take the two different sizes of bottle caps and coins and use them to draw stencils on the cardboard. These stencils will serve as the templates for your stuffed animals.
Cut the yarn : Using the stencils, cut the wool into the desired shapes. This is where you can get creative – experiment with different sizes and combinations to bring your stuffed animals to life.
Hot Melt Gun Magic: Heat up that trusty hot melt gun and get ready for some bonding! Apply the hot glue to the edges of the wool shapes and press them together, creating the body and features of your stuffed animals.
Add Details: Use the pens to add charming details to your creations. Draw on faces, patterns, or anything else that sparks your imagination.
Attach Non-Woven Fabrics: Cut out small pieces of non-woven fabric and attach them to your stuffed animals. These can serve as scarves, hats, or any other winter accessories you can think of.
Final Touches: Take a step back and admire your work. Make any final adjustments, ensuring your winter stuffed animals look as cute and cozy as possible.
Summary
And there you have it – your very own handmade winter stuffed animals, ready to bring warmth and charm to your space. Tufting DIY is not just a craft; it's a journey into the world of creativity and self-expression. So, gather your materials, let your imagination run wild, and enjoy the process of bringing these adorable creatures to life.
I hope this tutorial sparks a newfound love for tufting handmade in your heart. Remember, the best part is not just the final product but the joy of crafting and creating something unique. Happy tufting!


Leave a comment
This site is protected by hCaptcha and the hCaptcha Privacy Policy and Terms of Service apply.